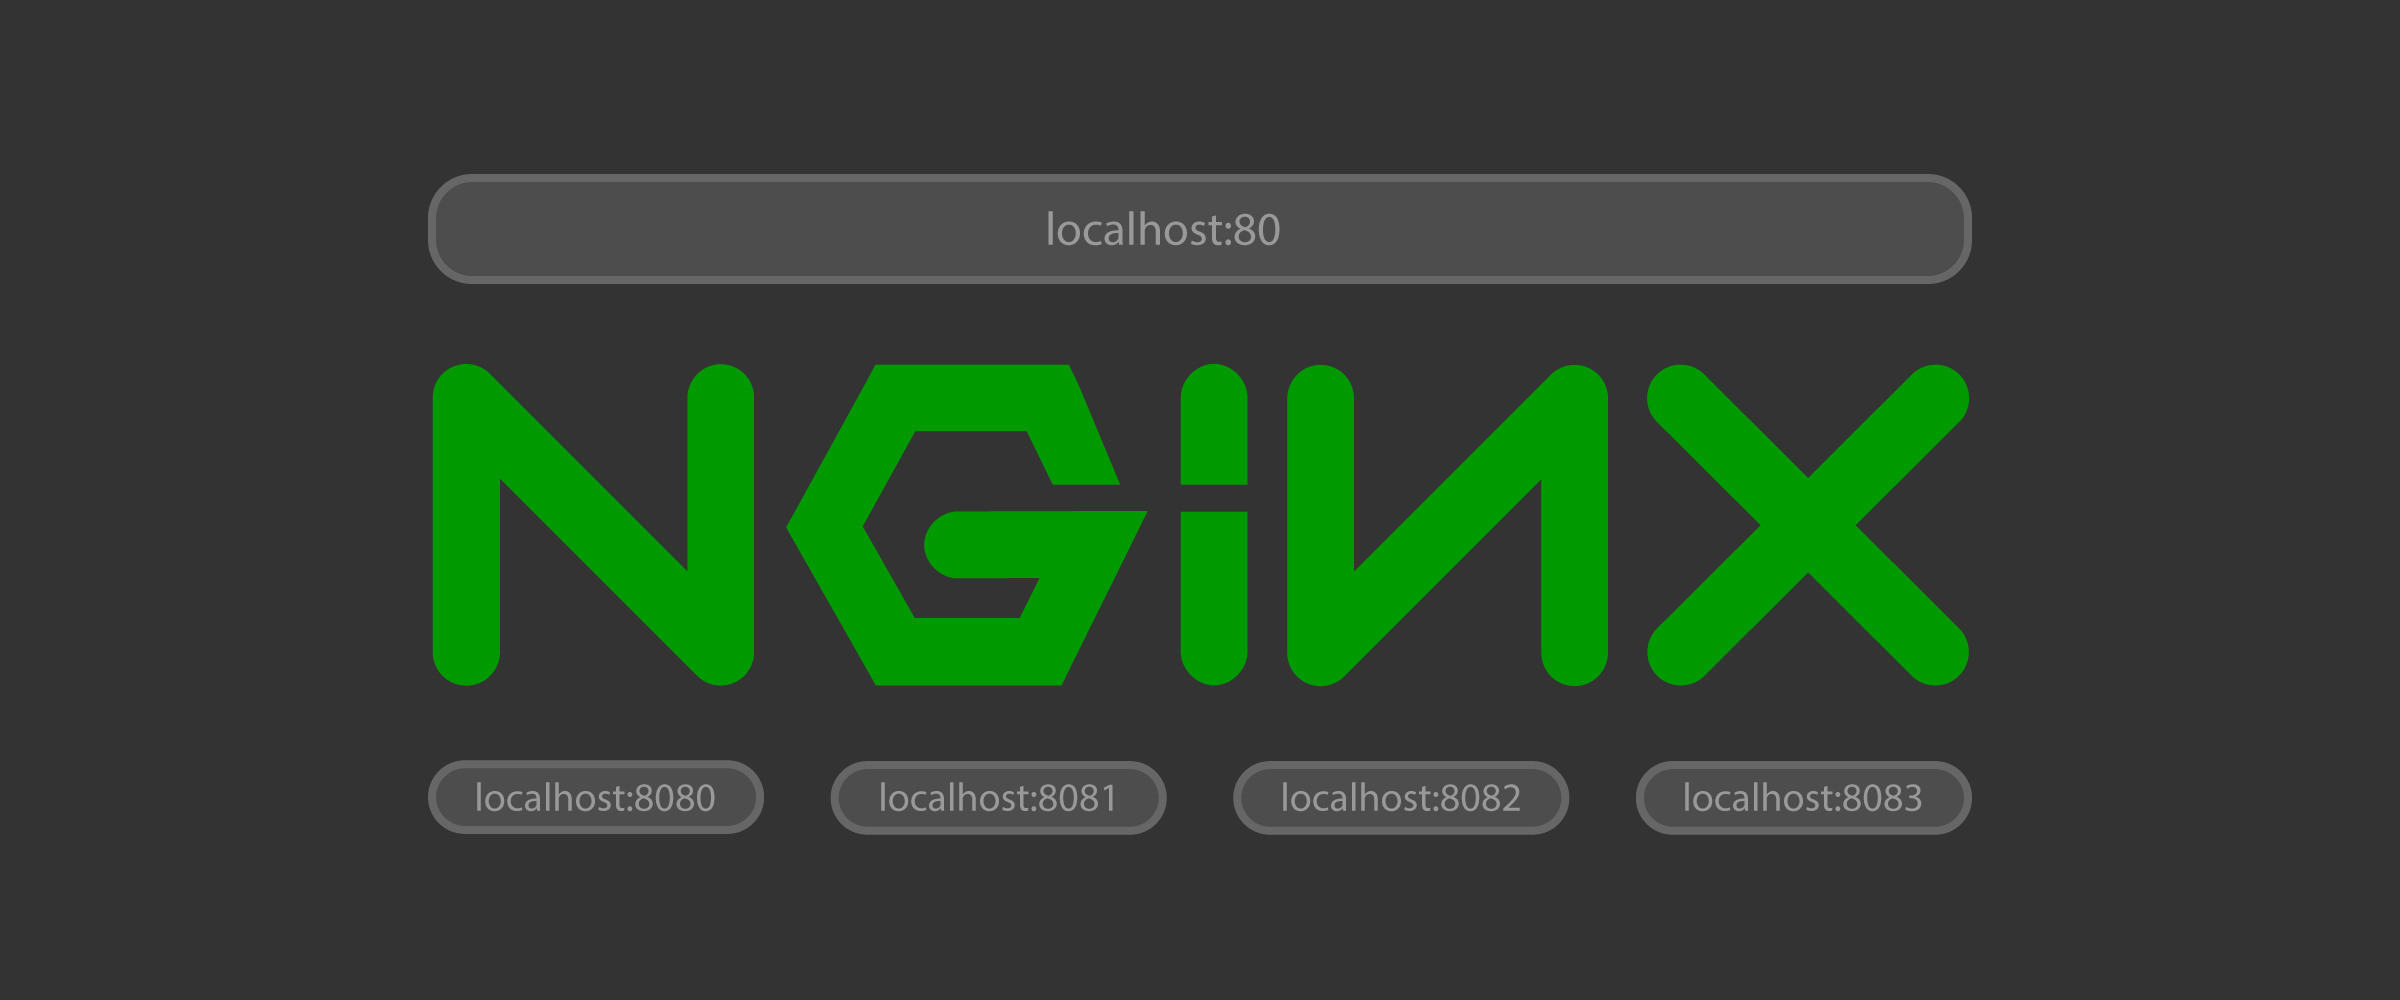
Why would we wanna do that? Because developers are increasingly working across multiple projects, and we need a sane method of changing contexts within our local development environment very quickly – or running them all at once – to remain efficient. Our approach is to use an Nginx proxy to forward all requests on localhost:80 to our various applications, each running on their own unique port.
As coders make contributions to upstream dependencies and neighboring apps alike, and as we write more end-to-end automated browser tests that cross application boundaries, running a local Nginx proxy will be a requirement.
Ok, so let’s get you up and running …
Installing Nginx
We’ll use HomeBrew to install Nginx on our Mac. This makes it easy to upgrade in the future, doesn’t require much manual configuration or running make, and doesn’t mess with any system files.
HomeBrew
Install nginx using the HomeBrew tap and formula.
brew update
brew tap homebrew/nginx
brew install nginx-full --with-http2
Below is an example of the output you should expect after running this command, including some helpful tips for starting/stopping the server.
$ brew install nginx-full --with-http2
==> Installing nginx-full from homebrew/nginx
==> Downloading https://nginx.org/download/nginx-1.12.0.tar.gz
Already downloaded: /Users/gnorwood/Library/Caches/Homebrew/nginx-full-1.12.0.tar.gz
==> ./configure --prefix=/usr/local/Cellar/nginx-full/1.12.0 --with-http_ssl_module --with-pcre --with-ipv6 --sbin-path=/usr/local/Cellar/nginx-full/1.12.0/bin/ngi
==> make install
==> Caveats
Docroot is: /usr/local/var/www
The default port has been set in /usr/local/etc/nginx/nginx.conf to 8080 so that
nginx can run without sudo.
nginx will load all files in /usr/local/etc/nginx/servers/.
- Tips -
Run port 80:
 $ sudo chown root:wheel /usr/local/opt/nginx-full/bin/nginx
 $ sudo chmod u+s /usr/local/opt/nginx-full/bin/nginx
Reload config:
 $ nginx -s reload
Reopen Logfile:
 $ nginx -s reopen
Stop process:
 $ nginx -s stop
Waiting on exit process
 $ nginx -s quit
To have launchd start homebrew/nginx/nginx-full now and restart at login:
  brew services start homebrew/nginx/nginx-full
Or, if you don't want/need a background service you can just run:
  nginx
==> Summary
<img draggable="false" data-mce-resize="false" data-mce-placeholder="1" data-wp-emoji="1" class="emoji" alt="🍺" src="https://s.w.org/images/core/emoji/2.3/svg/1f37a.svg">  /usr/local/Cellar/nginx-full/1.12.0: 8 files, 1MB, built in 25 seconds
Configure Permissions
By default, Nginx will run on port 8080 so as to not require sudo. But we’re going to want to run on port 80 to better simulate the production experience and route all requests properly, so we’ll need to set permissions on our directory appropriately.
sudo chown root:wheel /usr/local/opt/nginx-full/bin/nginx
sudo chmod u+s /usr/local/opt/nginx-full/bin/nginx
Configure nginx.conf
You’ll need a robust configuration file to dynamically map incoming requests based on URL path to the appropriate apps running on different ports. Many apps run on port 8080 by default, and some apps are easier than others to change, but we’ll need to run each app on its own port.
If you installed nginx via Homebrew, your nginx.conf file can be found at /usr/local/etc/nginx/nginx.conf.
# --- permissions --- #

#user  nobody;


# --- processes --- #

pid                     /usr/local/etc/nginx/logs/nginx.pid;
worker_processes        1;
events {
    worker_connections  1024;
}


# --- logging --- #

error_log   /usr/local/etc/nginx/logs/error.log;
#error_log  /usr/local/etc/nginx/logs/error.log  notice;
#error_log  /usr/local/etc/nginx/logs/error.log  info;


# --- http context --- #

http {
    include                     mime.types;
    default_type                application/octet-stream;
    client_max_body_size        100M;
    gzip                        on;
    large_client_header_buffers 4 32k;
    tcp_nopush                  on;
    tcp_nodelay                 on;
    types_hash_max_size         2048;

    #log_format  main  '$remote_addr - $remote_user [$time_local] "$request" '
    #                  '$status $body_bytes_sent "$http_referer" '
    #                  '"$http_user_agent" "$http_x_forwarded_for"';

    #access_log  logs/access.log  main;

    sendfile        on;
    #tcp_nopush     on;

    keepalive_timeout  65;

    map $http_referer $dynamic_proxy_port {
        default $app1_port;

        ~app1 $app1_port;
        ~app2 $app2_port;
        ~app3 $app3_port;
        ~app4 $app4_port;
    }


    # --- server directive (port 80) --- #

    server {
        listen                      80;
        proxy_set_header Host       $host;
        proxy_read_timeout          600s;
        underscores_in_headers      on;


       # --- ports must be unique for each application (sorted by port number) --- #

        set $app1_port      8080;
        set $app2_port      8081;
        set $app3_port      8082;
        set $app4_port      8083;

        # App 1
        location /app1/ {
            proxy_pass http://127.0.0.1:$app1_port;
            add_header X-Grant-Proxy app1 always;
            proxy_pass_request_headers on;
        }

        # App 2
        location /app2/ {
            proxy_pass http://127.0.0.1:$app2_port;
            add_header X-Grant-Proxy app1 always;
            proxy_pass_request_headers on;
        }

        # App 3
        location /app3/ {
            proxy_pass http://127.0.0.1:$app3_port;
            add_header X-Grant-Proxy app1 always;
            proxy_pass_request_headers on;
        }

        # App 4
        location /app4/ {
            proxy_pass http://127.0.0.1:$app4_port;
            add_header X-Grant-Proxy app1 always;
            proxy_pass_request_headers on;
        }


        # --- error handling --- #

        #error_page  404              /404.html;
        error_page   500 502 503 504  /50x.html;
        location = /50x.html {
            root   html;
        }
    }


    # --- server directive (port 443) --- #

    server {
        listen                      443 ssl;
        server_name                 local.grantnorwood.com;
        ssl_certificate_key         /usr/local/etc/nginx/ssl/private.key;
        ssl_certificate             /usr/local/etc/nginx/ssl/public.crt;
        ssl_protocols               TLSv1 TLSv1.1 TLSv1.2;
        ssl_ciphers                 HIGH:!aNULL:!MD5;
        proxy_set_header Host       $host;
        proxy_read_timeout  600s;
        underscores_in_headers on;
        location / {
            proxy_pass http://127.0.0.1:80;
            add_header X-Grant-Proxy app1 always;
        }
    }
}
Generate Self-Signed SSL Certificates
You’ll need to create a directory for your certs, then run the commands to generate them. Notice these files are being created in the ssldirectory noted in your nginx.conf.
mkdir /usr/local/etc/nginx/ssl && cd $_
openssl req -newkey rsa:2048 -nodes -keyout /usr/local/etc/nginx/ssl/private.key -x509 -days 365 -out /usr/local/etc/nginx/ssl/public.crt
Start the Server
From your terminal, let’s start up nginx and make sure there are no errors returned:
Start Your Nginx Proxy
nginxEach time you make changes to your nginx.conf file, you’ll need to reload the web server and ensure no errors were returned:
Reload Your Nginx Proxy
nginx -s reloadTo stop the server, send the “stop” signal:
Stop Your Nginx Proxy
nginx -s stopStart Up Your Apps
You should now be able start up each of your apps concurrently! However, to do so you may still need to start those apps on the ports you specified with location directives, so check the your app’s README for how to do that.
As an example, within a typical Node.js app, it’s as simple as setting the port environment variable:
ENV NODE_PORT=8081 npm startThat’s the gist of it, we’re simply using Nginx to proxy all requests on port 80 to the various apps running locally on alternate ports.
Got questions, or even a better way to do any of this? Please let me know in the comments section below!
